
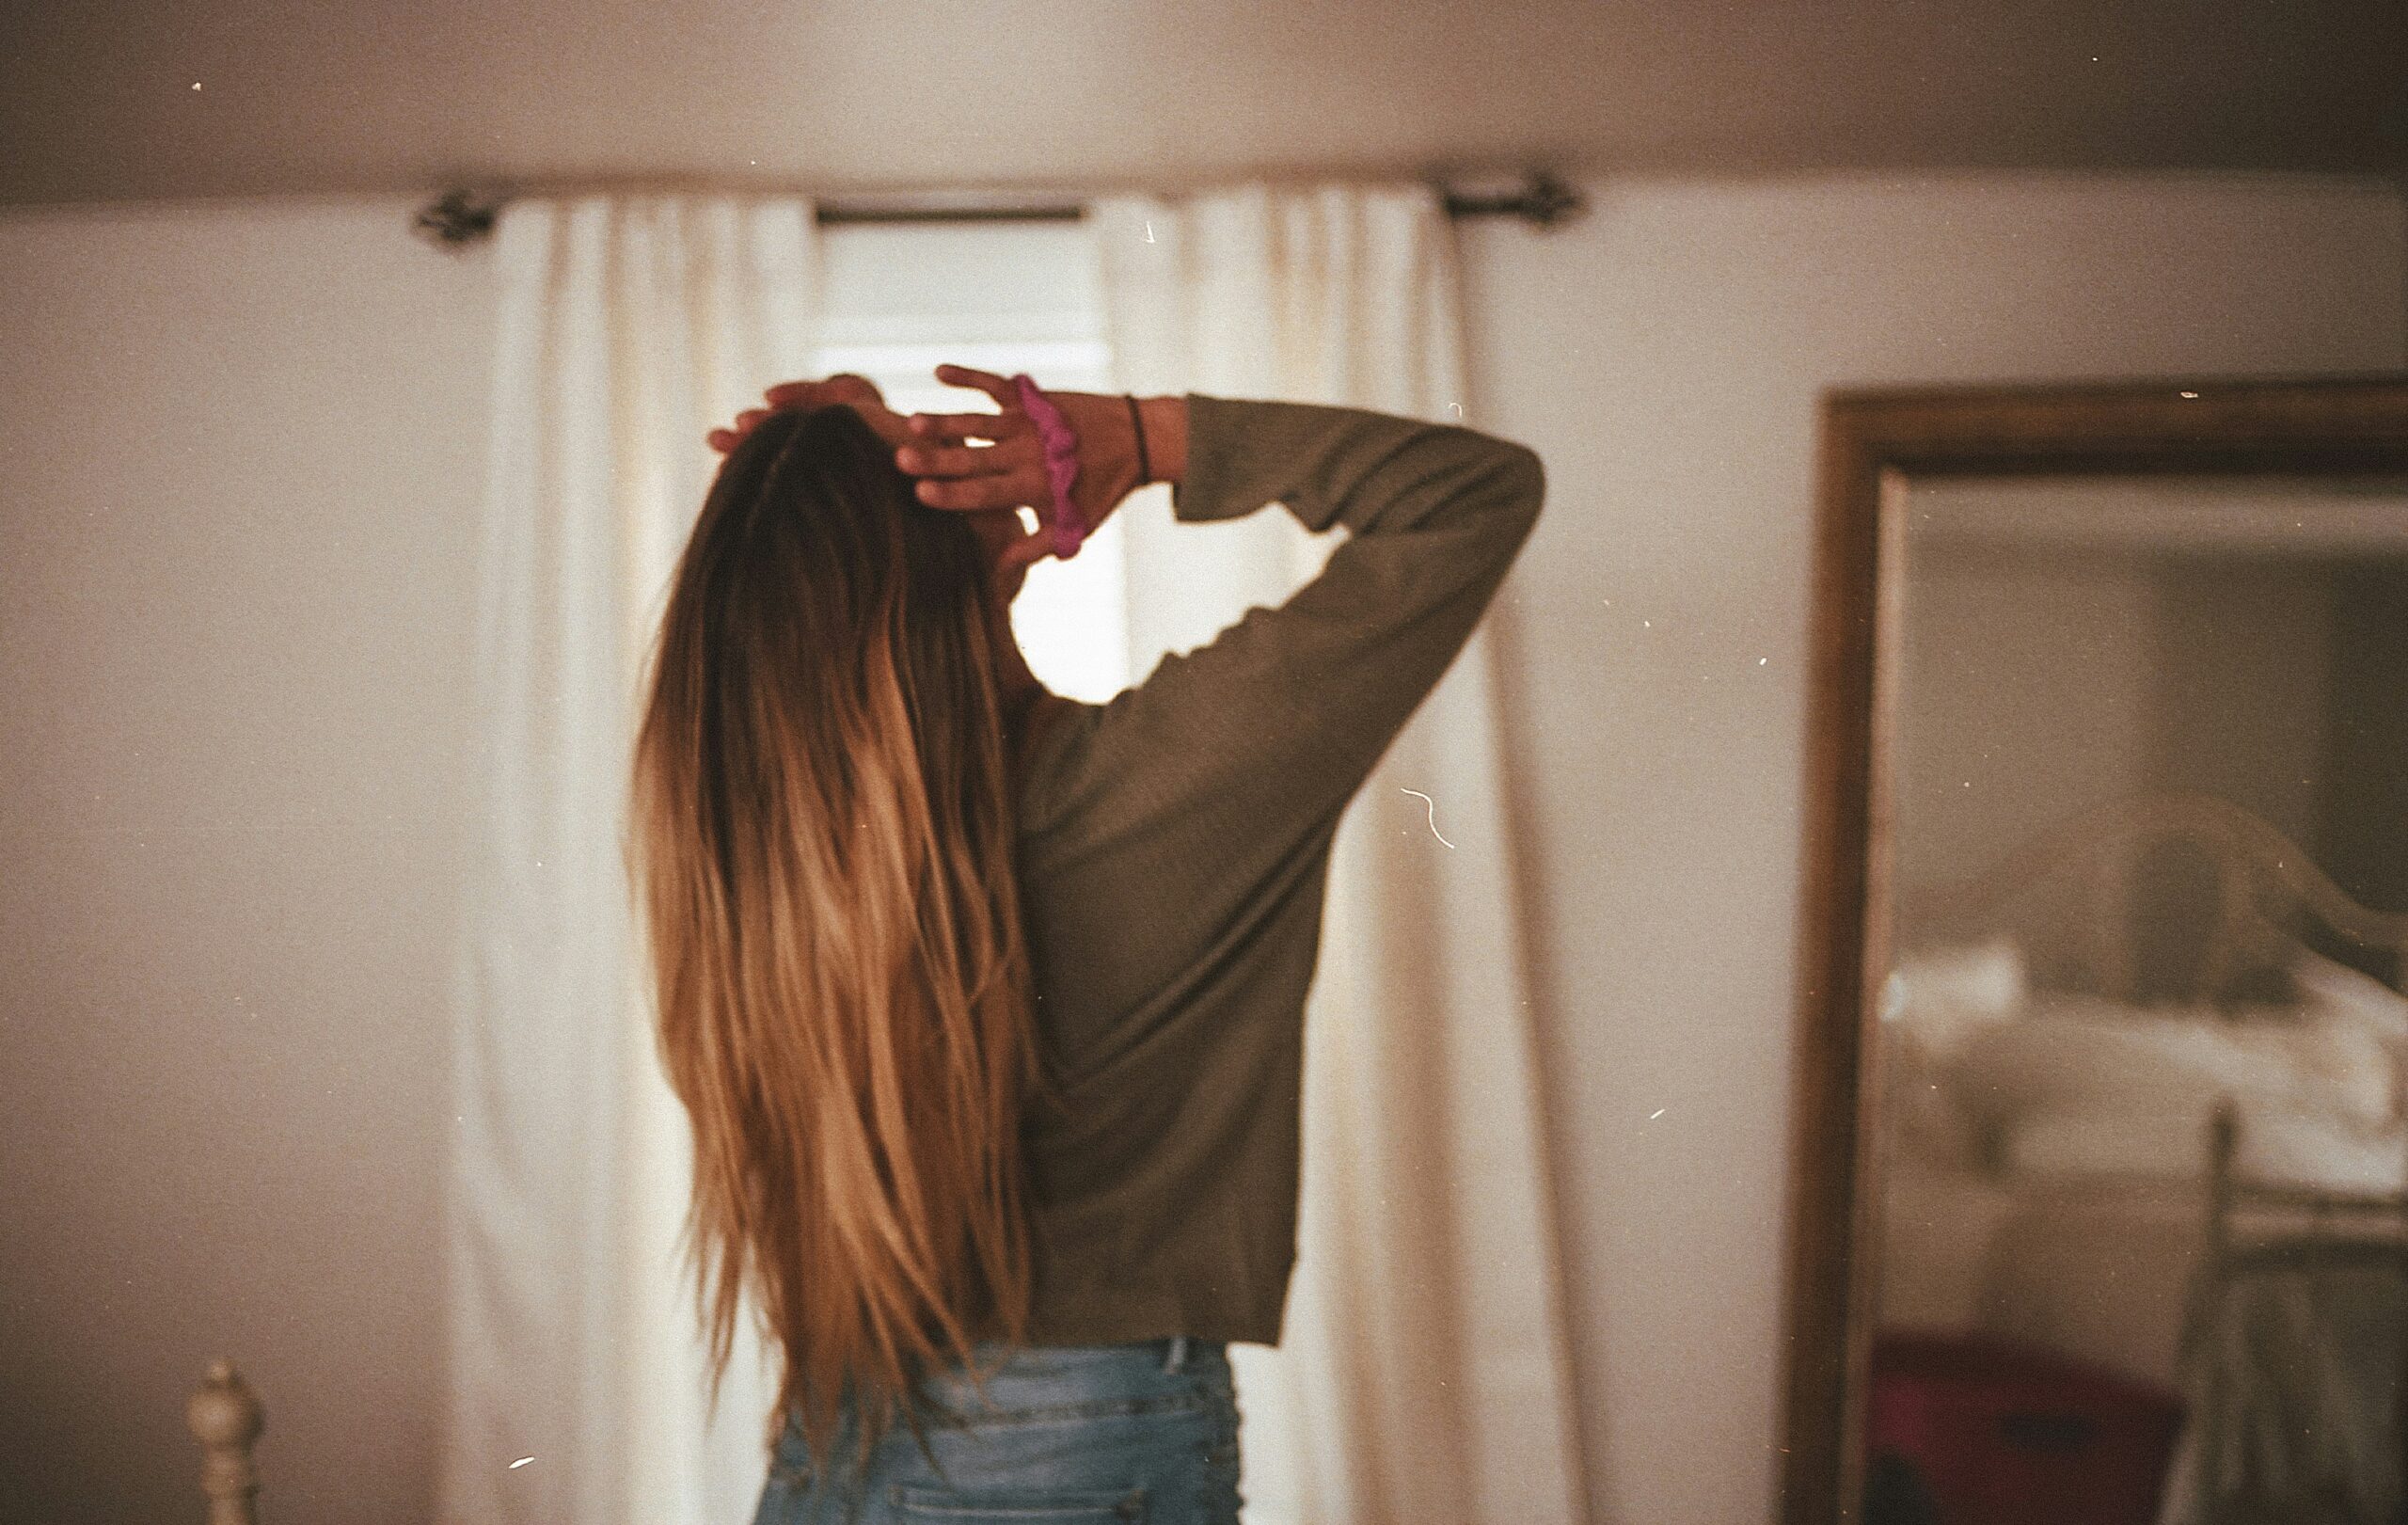
Ever feel like your hair needs a refresh but you don’t want a major commitment? Enter the long shag hairstyle, the perfect blend of edge and ease. Think tousled layers, face-framing bangs, and that “I woke up like this” vibe—all without hours spent in front of the mirror. Below, we dive into the top long shag variations, step-by-step styling tutorials, and maintenance hacks to keep your shag on point.
Why the Long Shag Is Trending in 2025
We all love a comeback, especially when it’s as flattering as the long shag. Here’s why the long shag continues to rule:
- Timeless Appeal: From the ’70s rock stars to today’s red carpets, the shag has always been a style chameleon.
- Face-Flattering Layers: When cut right, those layers soften your jawline and highlight your best features.
- Low-Effort, High-Impact: A few quick styling steps each morning can transform your hair into an artful “lived-in” masterpiece—no fuss required.
Want more low-maintenance haircut ideas? Check out 5 Low-Maintenance Haircuts for Women to explore other easy yet chic options.
Top 6 Long Shag Variations to Try Now
Ready to shake things up? Here are six standout ways to rock a long shag in 2025—each variation packed with personality and tailored to different hair types.
Classic Layered Long Shag
- Description: The OG shag—medium-thickness layers starting around collarbone level, creating movement without sacrificing length.
- Styling Steps:
- Section & Blast: Start with towel-dried hair. Section into top, middle, and bottom; blow-dry with a round brush, lifting at the roots for volume.
- Subtle Waves: Use a 1-inch curling wand, wrapping mid-lengths around the barrel in alternating directions for soft, undone waves.
- Finish with Texture: Mist a light texturizing spray (affiliate link) from roots to ends, then scrunch gently.
- Pro Tip: Spray your texturizer about 8–10 inches away to avoid overloading the layers—nobody wants weighed-down hair!
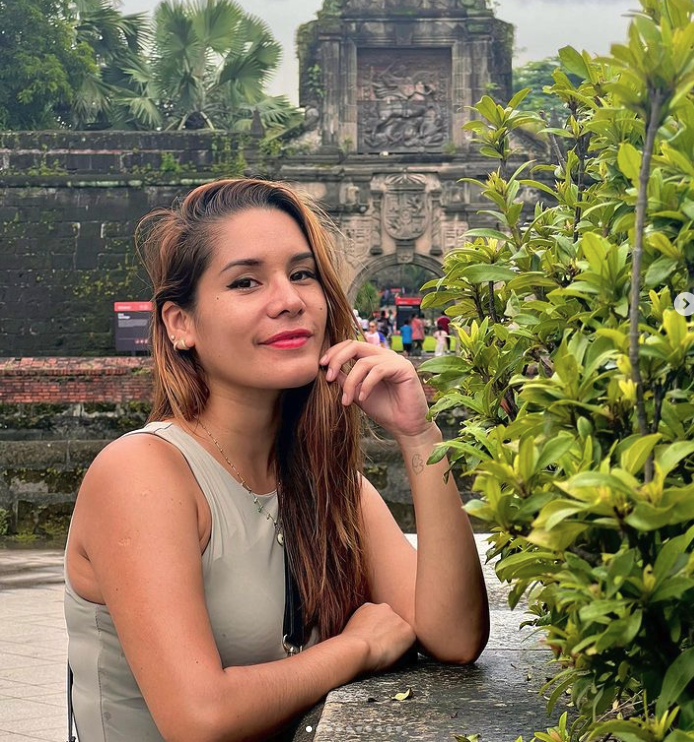
Curtain Bangs + Long Shag Combo
- Description: Face-framing curtain bangs blend seamlessly into long layers, adding a touch of boho-chic.
- Styling Steps:
- Drying the Bangs: While blow-drying, use a smaller round brush to sweep bangs outward and away from the face.
- Layered Drama: Once hair is 80% dry, release a front section for the bangs and guide the airflow to create a gentle curve.
- Day-After Refresh: Next day, spritz a tiny bit of dry shampoo at the roots and finger-comb bangs to revive texture.
- Pro Tip: A boar-bristle round brush gives curtain bangs that “breezy” bend—perfect for effortless separation.
Textured Beachy Long Shag
- Description: Think sandy strands, sun-kissed volume, and a carefree spirit. Ideal for anyone craving that coastal vibe year-round.
- Styling Steps:
- Salt Spray Prep: On damp hair, spray a generous mist of sea salt spray (affiliate link) and scrunch with your fingers.
- Diffuse Time: Flip your head upside down, use a diffuser on medium heat for 5–7 minutes to set those waves.
- Define & Separate: Run a 1.25-inch curling iron quickly through random sections—barely a wrap, more a mere bend.
- Pro Tip: Pinch hair at the ends immediately after curling to break up perfect ringlets into textured, lived-in waves.
Modern Layered Long Shag with Face-Framing Pieces
- Description: Dramatic, cheekbone-grazing layers that highlight your eyes and cheekbones. This variation is all about dimension.
- Styling Steps:
- Identifying Face-Framing Sections: Start at the highest point of your cheekbones and create two triangular sections toward your chin.
- Sleek Styling: On dry hair, apply a lightweight heat protectant, then gently flip the face-framing layers inward with a flat iron on low heat.
- Blend the Rest: Use a large barrel brush to sweep the rest of your layers back, letting them cascade naturally.
- Pro Tip: To keep these layers from looking too heavy, ask your stylist to slightly undercut underneath the face-framing pieces—instant lift without bulk.
Choppy Undone Ends Long Shag
- Description: The “razor-cut” finish you see on celebrity stylists’ Instagram: ends that look chopped by the wind, not scissors.
- Styling Steps:
- Achieving That Razor Effect: After washing, towel-blot hair. Apply a volumizing mousse at roots, then rough-dry.
- Tool Trick: Use a set of texturizing shears or, if you’re DIY-inclined, a razor comb—lightly swipe through the ends.
- Messy-Finish: Spray a matte paste onto mid-shaft, then scrunch gently to separate individual pieces.
- Pro Tip: When twisting a strand for added separation, pinch the ends and roll upward to create that intentional unevenness.
Long Shag for Curly Hair
- Description: Curly queens, rejoice: this variation honors your natural curl pattern while adding movement through graduated layers.
- Styling Steps:
- Dry-Cut Approach: Visit a stylist trained in dry-cutting—cutting dry curls ensures the final length falls exactly where it should.
- Curl-First Routine: In the shower, apply a generous dollop of sulfate-free curl cream (affiliate link). Scrunch upward toward roots.
- Diffuser Love: Flip your head forward, diffuse on low heat for 5–8 minutes to set curls without frizz.
- Midweek Refresh: Fill a travel spray bottle with water + leave-in conditioner; mist strands and scrunch lightly.
- Pro Tip: Sleep on a satin pillowcase and loosely “pineapple” your curls on top of your head to preserve shape.
Step-by-Step Styling Tutorial: From Wash to “Effortless Shaggy”
No matter which variation you choose, these core steps will take you from shampoo to that perfect “I-didn’t-try-too-hard” look.
Tools & Product Rundown
- Blow Dryer with Diffuser Attachment
- 1–1.25-Inch Curling Wand (adjustable heat)
- Round Brushes: One medium for roots; one smaller for face-framing pieces
- Texturizing Spray (affiliate link)
- Sulfate-Free Shampoo & Conditioner (e.g., a brand like Pureology or L’Oréal EverPure)
- Lightweight Heat Protectant Serum (affiliate link)
- Dry Shampoo (for day-two refresher)
- Curl Cream (for curly-shag version)
Prepping Your Hair
- Shampoo & Condition:
- Use a color-safe, sulfate-free shampoo to avoid stripping natural oils.
- Rinse once to remove dirt, then apply conditioner mid-length to ends; rinse again to seal cuticles.
- Towel-Release Water: Gently scrunch hair with a microfiber towel—no harsh rubbing to prevent frizz.
- Detangle: Use a wide-tooth comb or detangling brush, starting at ends and working upward. Curly-shag wearers: detangle with conditioner in hair to preserve curl pattern.
Blow-Drying for Volume & Texture
- Section It Out: Clip top half of your hair up, leaving the bottom section loose.
- Root Lift: Hold the dryer nozzle at the roots, directing airflow upward. Use a medium round brush to lift the hair as you dry.
- Set the Ends: Switch to a larger barrel round brush; lift a section, wrap ends inward slightly to add shape.
- Move to Next Section: Release the top half and repeat—the goal is to have hair about 90% dry before any heat styling.
Creating Messy Waves
- Heat Protectant: Even if you love to live a little on the wild side, please protect your strands with a spray or serum.
- Curling Wand Play: Take 1–2-inch sections, wrap around the barrel for 2–3 seconds, then release. Alternate directions—one piece toward the face, next piece away.
- Cool & Separate: Allow curls to fully cool (this locks them). Then gently finger-comb or use a wide-tooth comb to break up the loops into a relaxed wave.
- Texture Time: Lightly mist texturizing spray at mid-shaft, scrunch to create separation. Avoid near-root overspray to maintain lift.
Finishing & Holding the Look
- Flexible-Hold Hairspray: A quick mist—hold the can 10–12 inches away and spray in a “pulse” method to avoid a crunchy cast.
- Shine Serum (Optional): If your ends look dry, rub a dime-sized amount of argan oil between palms and gently scrunch into ends only.
- Final Finger-Comb: Use your fingertips to tousle the top layer, breaking up any stubborn clumps.
Maintenance & Care: Keep Your Long Shag Fresh
A shag’s secret is staying sharp with minimal fuss. Here’s how:
Trimming Schedule & Stylist Script
- Every 8–10 Weeks:
- Ask your stylist to “trim the bottom inch and re-layer mid-length sections.” This preserves those iconic shag layers while keeping frizz at bay.
- If you notice your face-framing bits getting too long, request a slight trim to keep them grazing cheekbones.
Home-Care Routine (Daily & Weekly)
- Nighttime Ritual:
- Fine Hair: Loosely tie your hair in a top-knot (“pineapple”) on a silk pillowcase to reduce breakage.
- Thick/Coarse Hair: Braid loosely to prevent tangles.
- Curly Hair: “Pineapple” + a satin bonnet works wonders.
- Midweek Refresh:
- Spray Bottle Hack: Fill a mister with water + a few drops of leave-in conditioner. Lightly mist mid-shaft to ends, then scrunch with your hands. For curly shags, follow with a 10-second diffuser on low.
- Dry Shampoo Rescue: Lift roots with dry shampoo (affiliate link) at the crown to banish any grease.
Best Products by Hair Type
- Fine Hair:
- Volumizing Shampoo & Conditioner (e.g., Bumble and Bumble Thickening).
- Light Mousse at roots only—avoids flattening the ends.
- Dry Texturizer Powder if you need extra grit for layering.
- Thick/Coarse Hair:
- Hydrating Cream Cleanser to prevent “squeaky clean” dryness.
- Argan Oil–Based Serum at ends to tame frizz.
- Anti-Frizz Mousse or styling cream to define layers.
- Curly Hair:
- Sulfate-Free Curl Cream (e.g., DevaCurl Heaven in Hair).
- Lightweight Gel for hold without crunch (freeze-hold if humidity is an issue).
- Diffuser on low heat—never towel-dry vigorously.
Deep Conditioning & Scalp Health
- Monthly Protein Mask: Like Olaplex Hair Perfector No. 3—work from mid-lengths to ends, leave on for 20–30 minutes, then rinse.
- Scalp Oil Treatment: Massage warm coconut oil or jojoba oil into your scalp 30 minutes before shampooing. This soothes any dryness and boosts shine.
Color & Dimension: Elevate Your Long Shag
Nothing says extra oomph like a little dimension in your shag. Here’s how to play with color without sacrificing that easy vibe:
Balayage & Ombre Techniques
- Balayage Benefit: Freehand painting keeps the look natural—lighter ends draw attention to the layers.
- Ombre Option: A gradual fade from your root color to a lighter end adds subtle dimension without constant root touch-ups.
- Ask Your Colorist: “Can we accentuate my layers with a soft balayage, focusing around the face-framing bits?”
Subtle Highlights vs. Bold Color Experiments
- Subtle Highlights:
- A few strategically placed caramel or honey-toned foils can create an illusion of depth in your layers.
- Less upkeep—blends into the natural regrowth.
- Bold Colors (Pastels, Reds):
- If you’re feeling adventurous, consider a rose-gold or dusty-pink fade at mid-lengths.
- Maintenance Tip: Use a color-depositing conditioner once a week to keep those hues popping.
Caring for Color-Treated Shags
- Color-Safe, Sulfate-Free Routine: Always choose gentle products to avoid stripping pigment.
- Purple Shampoo (affiliate link) once weekly if your shag has blonde or ashy tones—to reduce brassiness.
- Heat Protection: Any styling over 300°F? Consider a dedicated heat protectant spray to shield color and cuticle.
Embrace the Effortless Long Shag Lifestyle
The long shag hairstyle is your gateway to stunning layers, mini-makeover vibes, and fuss-free styling. Whether you opt for curtain bangs, beachy texture, or curly layers, a little bit of know-how—and the right products—goes a long way. So pick your favorite variation, bookmark these care tips, and get ready to rock that shag with confidence and a dash of humor. Your hair just got a major upgrade with minimal effort—what’s not to love?
Frequently Asked Questions (FAQ)
How Often Should I Trim My Long Shag to Keep It Looking Fresh?
Every 8–10 weeks is ideal. Ask your stylist to lightly trim the ends and reshape layers—no need for a major restyle if you just want to maintain that lived-in look.
Can I Air-Dry a Long Shag Without Losing Volume?
Yes—apply a volumizing mousse at roots on damp hair, then flip your head and let it air-dry. You’ll end up with a softer wave and natural lift. Optional: finish with a quick blast from a hairdryer on the roots only.
Which Products Are Best for Adding Texture to Fine Long Shags?
Choose a lightweight texturizing spray or a dry shampoo–style powder at roots. Look for terms like “oily grasp” or “texturizing volume” on labels to ensure they won’t weigh you down.
Is a Long Shag Suitable for Curly Hair?
Absolutely. Just make sure your stylist cuts your shag dry (with curls shaped naturally). Use a curl cream and low-heat diffuser to define layers without frizz.
How Do I Protect My Long Shag from Heat Damage?
Always apply a heat protectant before any hot tool. If you’re styling daily, swap to a lower-heat tool or embrace more wet-styling techniques (e.g., styling in the shower with scrunching and letting curls air-dry).
Hi! I’m Katia Luján, an SEO and Content Marketing expert with over 10 years of experience helping websites grow organically and get approved by Google AdSense.
I’ve worked in Google’s Trust & Safety team for AdSense and have helped more than 100 websites comply with monetization policies. Currently, I’m the strategist behind Buzzlix—creating SEO-optimized, high-quality content on beauty, skincare, and self-care.
I’m passionate about empowering others with actionable, sustainable, and accessible beauty content.
Leave a Reply