
Okay, let’s talk about something your grandmother probably swore by but you’ve been ignoring – hair oiling. I know, I know, it sounds messy and old-fashioned, but trust me on this one. After years of frying my hair with heat tools and wondering why it looked like straw, I finally gave ancient hair oiling a real shot. And honestly? It’s been a total game-changer.
Here’s the thing – while we’re out here spending hundreds on fancy hair treatments, people have been using simple oils to grow gorgeous, healthy hair for literally thousands of years. The ancient Ayurvedic tradition didn’t mess around when it came to hair care, and modern science is finally catching up to what they knew all along. So grab your favorite oil (or keep reading to find your new one), and let me walk you through everything you need to know about turning this ancient practice into your secret weapon for amazing hair.
The Real Science Behind Why Hair Oiling Actually Works
Before you roll your eyes and think this is just another wellness trend, let me break down what’s actually happening when you massage oil into your scalp. Your hair follicles are basically tiny factories working 24/7 to produce new hair. But here’s the problem – stress, pollution, harsh products, and even your genetics can seriously mess with this process.
When you massage oil into your scalp, you’re doing way more than just making your hair smell nice. You’re literally increasing blood flow to those hard-working follicles by up to 300%. Think of it like giving your scalp a really good workout that delivers all the oxygen and nutrients your hair needs to grow strong and healthy.
But wait, there’s more (I promise I’m not trying to sell you a blender). Different oils actually penetrate your hair shaft and fill in microscopic gaps that make your hair weak and prone to breakage. Research shows that certain oils can reduce protein loss by up to 40% – and protein loss is basically why your hair feels like it’s falling apart.
Here’s what’s really happening when you oil your hair:
- Your scalp circulation gets a major boost, feeding those hungry hair follicles
- Essential fatty acids penetrate deep into your hair shaft, making it stronger from the inside out
- You create a protective barrier against all the daily damage from styling and environmental stress
- The massage action helps reduce cortisol (stress hormone) levels, which can actually improve hair growth
- Natural antimicrobial properties in many oils keep your scalp healthy and balanced
The coolest part? Traditional Ayurvedic practitioners figured this out thousands of years ago without fancy lab equipment. They just knew that different hair types needed different approaches – kind of like how you wouldn’t use the same skincare routine for every skin type.
Let’s Talk About the Best Oils for Your Hair (And Why They’re Amazing)
Choosing the right oil is like finding the perfect foundation shade – when you get it right, everything just works better. Let me walk you through my top picks and why each one might be your hair’s new best friend.
Coconut Oil: Your Hair’s Reliable Best Friend
I’m starting with coconut oil because it’s probably sitting in your kitchen right now, and honestly, it’s like the Swiss Army knife of hair care. This stuff has been my ride-or-die for years, and there’s actual science backing up why it works so well.
Coconut oil has this amazing ability to actually get inside your hair shaft (thanks to its molecular structure), which means it’s not just sitting on top making things greasy – it’s working from the inside out. Plus, it smells like vacation, which is always a bonus.
Why coconut oil is basically magic for your hair:
- Contains lauric acid, which fights off scalp bacteria and fungus (gross but important)
- Actually penetrates your hair instead of just coating it
- Gives you deep moisture without that heavy, weighed-down feeling
- Provides natural UV protection (your color-treated hair will thank you)
- Works for literally every hair type I’ve ever encountered
Best for: Pretty much everyone, daily use, overnight treatments, and those “my hair is having a crisis” emergency situations
Castor Oil: The Growth Stimulator That Means Business
If you’re serious about how to oil hair for growth, castor oil is your heavy-hitter. Fair warning – this stuff is thick and sticky, so it’s not exactly a quick fix. But if you want results, castor oil doesn’t mess around.
I started using castor oil on my edges after noticing some thinning (thanks, stress and tight ponytails), and within a few months, I had baby hairs sprouting everywhere. The secret is ricinoleic acid, which basically tells your hair follicles to wake up and get to work.
Why castor oil is the growth champion:
- Ricinoleic acid improves blood circulation like nobody’s business
- Has anti-inflammatory properties that calm down irritated scalps
- Provides intense moisture for hair that’s been through the wringer
- Actually helps with thinning areas and stubborn bald patches
- Packed with omega-6 and omega-9 fatty acids that hair absolutely loves
Best for: Weekly intensive treatments, targeting problem areas, thick or coarse hair that can handle the heaviness
Argan Oil: Liquid Gold That Won’t Weigh You Down
If you have fine hair and you’re scared that oiling will make you look like you haven’t washed your hair in a week, argan oil is your answer. This stuff is so lightweight and luxurious, it’s basically the cashmere of hair oils.
I love argan oil for those days when my hair needs some TLC but I don’t have time for a full treatment. A few drops on damp hair, and suddenly I look like I have my life together.
What makes argan oil so special:
- Loaded with vitamin E and antioxidants that repair damage
- Lightweight formula that fine hair can actually handle
- Tames frizz and adds shine without looking greasy
- Provides heat protection when you can’t resist your flat iron
- Perfect for hair that gets overwhelmed by heavier oils
Best for: Daily use, leave-in treatments, fine to medium hair, and anyone who wants results without the commitment
Rosemary Oil: The Circulation Superstar
Here’s something that blew my mind – recent studies show that rosemary oil can be just as effective as minoxidil for hair growth. Yeah, the same ingredient in those expensive hair growth treatments. Except rosemary oil costs like $10 and smells way better.
The catch is that rosemary is an essential oil, so you can’t use it straight up. Mix it with a carrier oil like jojoba or coconut, and you’ve got yourself a powerful growth treatment.
Why rosemary oil is having a moment:
- Stimulates blood circulation better than most other oils
- Has antimicrobial properties that keep your scalp clean and healthy
- Might help prevent premature graying (still researching this one, but promising!)
- Gives you that spa-like, invigorating scent during treatments
- Plays well with other oils for custom blends
Best for: Scalp massage, targeting areas where you want more growth, weekly treatments mixed with carrier oils
Jojoba Oil: The Scalp Whisperer
Technically jojoba isn’t even an oil – it’s a wax ester that happens to be almost identical to your scalp’s natural sebum. Translation: your scalp thinks jojoba oil is something it made itself, so it absorbs beautifully without any fuss.
If you have an oily scalp but still want the benefits of hair oiling, jojoba is your secret weapon. It actually helps balance your scalp’s oil production instead of adding to the grease factor.
What makes jojoba oil different:
- Mimics your natural scalp oils so perfectly it’s almost creepy
- Won’t clog your hair follicles (non-comedogenic for the win)
- Actually helps regulate how much oil your scalp produces
- Lightweight and absorbs quickly without residue
- Perfect for sensitive scalps that react to everything
Best for: Oily scalps, daily use, sensitive skin, and anyone who wants oil benefits without the oil look
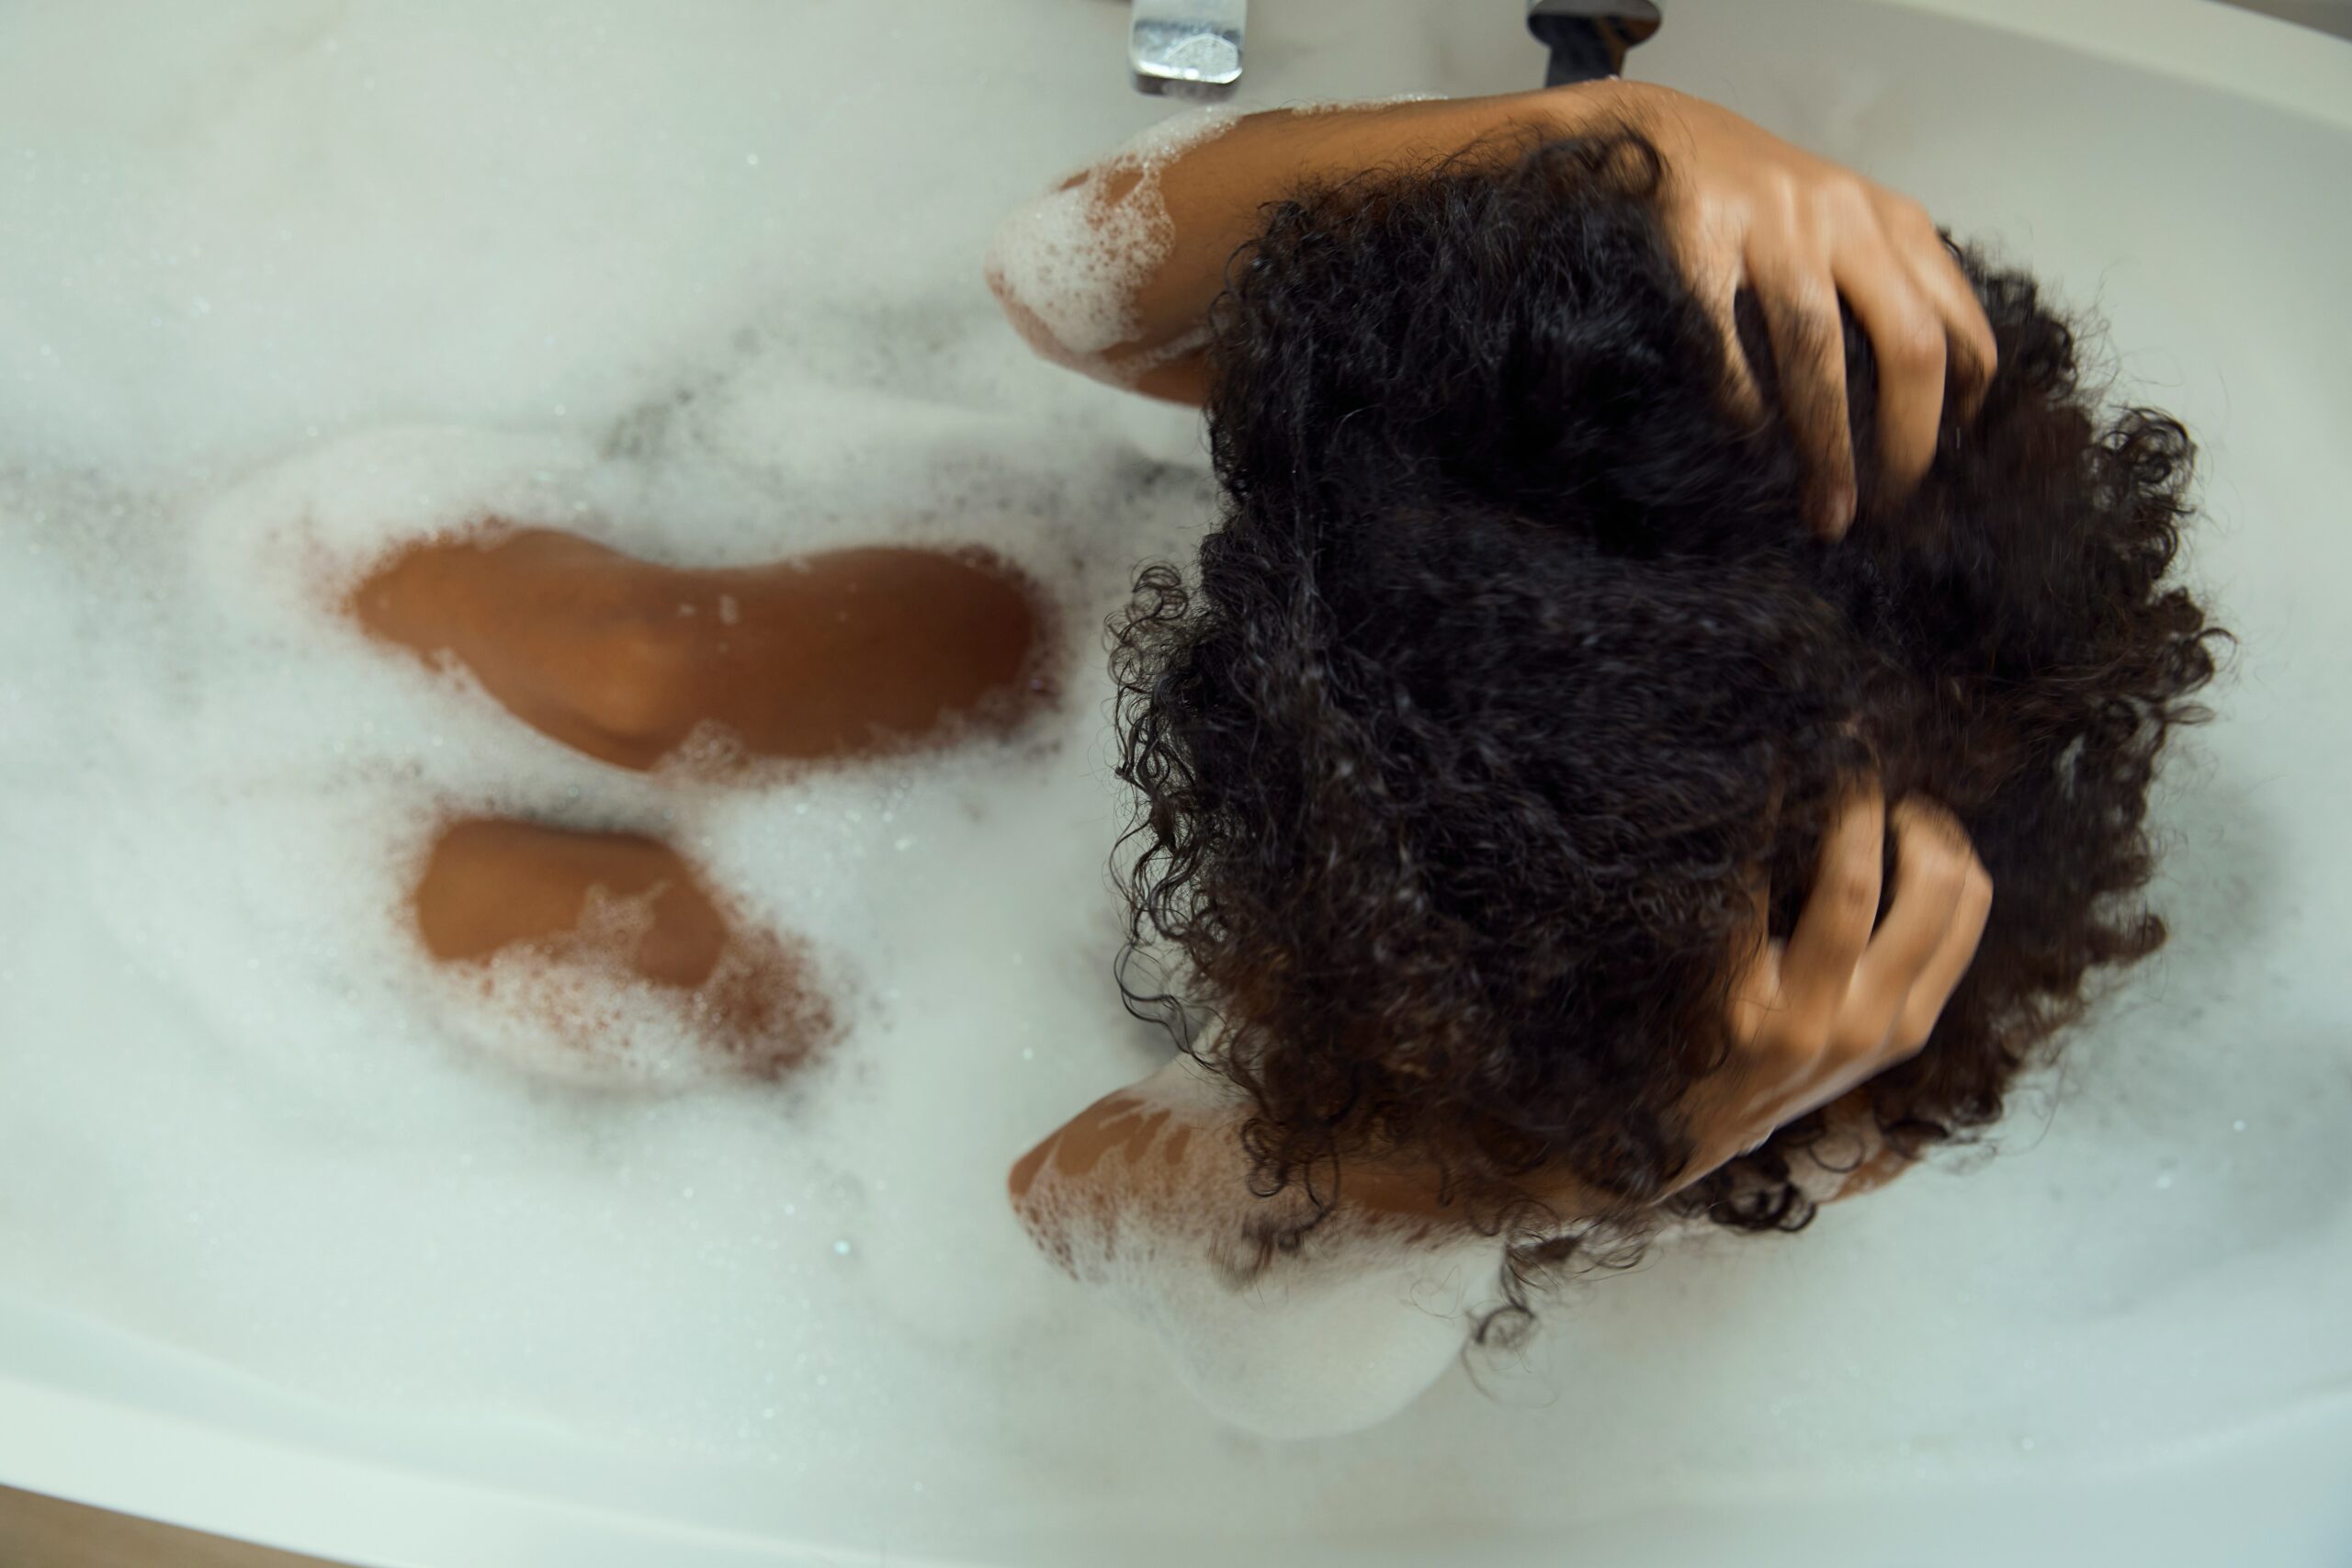
How to Actually Do This: Step-by-Step Techniques That Work
Alright, let’s get into the fun part – actually putting oil in your hair without making a complete mess of your bathroom. I’ve tried every method under the sun, and I’m going to share what actually works in real life.
The Full Traditional Treatment (When You Have Time to Do It Right)
This is the method I use on Sunday afternoons when I want to feel like I’m at a spa but I’m actually just in my bathroom wearing an old t-shirt.
Getting ready (this part matters more than you think):
- Pick your oil based on what your hair needs right now
- Warm it up slightly – not hot, just pleasantly warm (test it on your wrist)
- Section your hair like you’re getting highlights (clips are your friend)
- Put on clothes you don’t care about because oil happens
- Set aside at least 20 minutes because rushing this defeats the purpose
The actual application (where the magic happens):
- Start with about 2-3 tablespoons of oil in a small bowl
- Part your hair down the middle, then create sections from there
- Use your fingertips or a dropper to apply oil directly to your scalp
- Work in small sections so you don’t miss spots
- Use firm, circular motions to massage the oil in (this is the best part)
- Don’t forget your hairline and behind your ears
- Work any leftover oil through your hair lengths
- Massage your scalp for at least 5-10 minutes (seriously, don’t skip this)
- Comb through with a wide-tooth comb to distribute everything evenly
The massage part is where the real benefits happen. You’re not just applying oil – you’re stimulating circulation, reducing stress, and basically giving your scalp the attention it deserves.
The Quick and Dirty Method (For Real Life)
Look, I get it. Sometimes you want the benefits of hair oiling but you have exactly 30 minutes before you need to wash your hair and get on with your day. This method is for those times.
The streamlined approach:
- Warm a small amount of oil in your palms
- Work it through your scalp in sections, focusing on areas that need attention
- Spend at least 5 minutes massaging (don’t cheat yourself here)
- Comb through to distribute
- Leave on for 30 minutes minimum while you do other things
- Wash out with your regular routine
This isn’t as thorough as the full treatment, but it’s way better than nothing. I do this method during the week when I want to maintain my hair care routine without turning it into a whole production.
How Often Should You Actually Do This? (The Real Talk)
This is probably the question I get asked most, and the answer is: it depends on your hair, your lifestyle, and honestly, how much you enjoy the process. Let me break it down by hair type because one size definitely doesn’t fit all.
If Your Hair is Dry, Damaged, or Just Generally Unhappy
Your hair is basically crying out for moisture and nutrients, so you can be pretty generous with your oiling schedule without overdoing it.
What works for damaged hair:
- 2-3 times per week until you see improvement
- Focus on your scalp and the mid-lengths to ends (your roots are usually fine)
- Use heavier oils like coconut or castor that can really penetrate
- Leave treatments on for 2-4 hours or even overnight
- Gradually reduce frequency as your hair gets healthier
I went through a phase where I was heat-styling my hair every single day (don’t judge me), and it took about 3 months of consistent oiling to get it back to a healthy state. The key is being patient and consistent.
If Your Hair is Pretty Normal and Healthy
Lucky you! Your hair just needs maintenance to stay awesome, so you don’t need to go overboard.
Maintenance schedule that works:
- Once or twice per week is plenty
- Mix up your oils to get different benefits
- 1-2 hours is usually enough time for the oil to work
- Focus on keeping your scalp healthy and preventing future damage
If You Have Oily Hair or Scalp (Yes, You Can Still Oil!)
I know it sounds counterintuitive, but oily scalps can actually benefit from the right kind of oiling. The trick is choosing lightweight oils and focusing on your hair lengths rather than dumping oil on your already-oily roots.
Oily hair oiling strategy:
- Use lightweight oils like jojoba or argan
- Focus on mid-lengths and ends, not your scalp
- Oil once a week or every 10 days max
- Avoid heavy oils that will make the grease situation worse
- Sometimes an “oily” scalp is actually just irritated and overproducing oil
The goal is to balance your scalp’s oil production, not add to the problem. Think of it like using the right moisturizer for oily skin – sometimes you need to give your scalp what it needs so it stops overcompensating.
The Mistakes Everyone Makes (And How to Avoid Them)
Let me save you from the mistakes I made when I first started oiling my hair. Some of these are embarrassing, but if it helps you avoid looking like you dunked your head in a vat of oil, it’s worth sharing.
Using Way Too Much Oil (Been There, Done That)
When I first started oiling, I thought more was better. Spoiler alert: it’s not. I once used so much coconut oil that I had to shampoo my hair three times and it still looked greasy for two days.
Signs you’re using too much oil:
- Your hair looks like you haven’t washed it in a week (even right after washing)
- Your scalp feels heavy and clogged
- Your hair has zero volume and looks flat
- You’re going through shampoo like it’s going out of style
The fix: Start with way less oil than you think you need. You can always add more, but you can’t take it back once it’s in there.
Putting Oil on Dirty Hair (Rookie Mistake)
I learned this one the hard way. Applying oil to hair that’s already got product buildup or hasn’t been washed in a few days is like trying to moisturize dirty skin – it just traps all the gross stuff against your scalp.
Better approach:
- Start with clean or at least cleanish hair
- Use a clarifying shampoo once a week to prevent buildup
- Don’t apply oil over styling products
- Plan your oiling around your wash schedule
Getting the Temperature Wrong
Oil that’s too hot can literally burn your scalp (ouch), while cold oil just sits there not doing much. I once heated coconut oil in the microwave and created hot spots that were not pleasant.
Temperature tips:
- Warm oil should feel nice on your skin, not hot
- Test it on your wrist first (like baby formula)
- Never microwave oil – it creates dangerous hot spots
- Room temperature oil is better than oil that’s too hot
Skipping the Massage (Missing the Best Part!)
Just slapping oil on your head and calling it a day misses like 50% of the benefits. The massage is where the circulation magic happens, plus it feels amazing and reduces stress.
Massage tips that actually work:
- Use your fingertips, not your nails
- Move in circles, not back and forth
- Apply firm but gentle pressure
- Spend extra time on areas where you want more growth
- Include your temples and the base of your skull for full relaxation
Modern Ways to Make Ancient Techniques Work for Your Life
Let’s be real – most of us don’t have hours to spend on elaborate beauty rituals. But that doesn’t mean you can’t get the benefits of hair oiling. Here are some ways I’ve adapted traditional techniques to fit into an actual modern lifestyle.
The Overnight Treatment (For Maximum Lazy Efficiency)
This is my favorite method when I want serious results with minimal effort. You apply the oil, go to sleep, and wake up with incredibly soft, nourished hair.
How to do overnight oiling without destroying your pillowcase:
- Apply oil 2-3 hours before bed so it has time to absorb
- Use a silk or satin pillowcase (it’s better for your skin too)
- Braid long hair loosely to prevent tangling
- Put an old towel over your pillow just in case
- Wash it out thoroughly in the morning
The key is not going overboard with the amount of oil. You want enough to nourish your hair, not enough to stain your bedding.
The Pre-Shampoo Treatment (Multitasking at Its Finest)
This method is perfect because it doesn’t require a separate wash day – you just add it to your existing routine.
Pre-shampoo oiling strategy:
- Apply oil 30-60 minutes before you were planning to wash anyway
- Focus on your scalp and any damaged areas
- Use this time to clean your room, do skincare, or just chill
- Shampoo normally (you might need to shampoo twice)
I love this method because it fits seamlessly into my existing routine without adding extra steps.
The Daily Leave-In Light Treatment (For Ongoing Maintenance)
For daily protection and nourishment, a tiny amount of lightweight oil can work wonders without making your hair look greasy.
Daily oil application:
- Use just 2-3 drops of argan or jojoba oil
- Apply to damp (not soaking wet) hair
- Focus on mid-lengths and ends
- Avoid your roots unless your scalp is really dry
- Style as usual
This approach works great as part of your regular hair care routine and gives you ongoing protection against heat styling and environmental damage.
Troubleshooting When Things Don’t Go According to Plan
Even with the best intentions and techniques, sometimes hair oiling doesn’t go exactly as planned. Here’s how to handle the most common issues I’ve encountered (and trust me, I’ve encountered them all).
When Your Hair Still Looks Greasy After Washing
This happened to me so many times when I was starting out. You follow all the steps, wash your hair thoroughly, and somehow you still look like you stuck your finger in an electrical socket.
Possible causes and fixes:
- You used too much oil (reduce the amount next time)
- Your shampoo isn’t strong enough to cut through the oil (try a clarifying shampoo)
- You didn’t massage the shampoo into your scalp long enough
- You need to shampoo twice, focusing on the scalp area
- The oil you’re using might be too heavy for your hair type
Don’t give up after one bad experience. It usually takes a few tries to find the right amount and technique for your specific hair.
When Your Scalp Gets Itchy or Irritated
This can be super frustrating, especially when you’re trying to improve your hair health. Sometimes it’s the oil, sometimes it’s the technique, and sometimes it’s just bad timing.
Troubleshooting steps:
- Stop using the oil immediately and identify what might have caused the reaction
- Patch test any new oils on a small area first (I learned this the hard way)
- Make sure you’re not allergic to any ingredients
- Check if you’re massaging too aggressively
- Consider whether you have an underlying scalp condition
If irritation persists, definitely talk to a dermatologist. Sometimes what we think is a product reaction is actually a scalp condition that needs proper treatment.
When You Don’t See Any Results After Weeks of Trying
Hair growth and improvement take time, but if you’ve been consistently oiling for 6-8 weeks and seeing zero changes, something might need adjusting.
Things to evaluate:
- Are you using the right oil for your specific hair type and concerns?
- Is your massage technique actually stimulating circulation?
- Are you being consistent with frequency, or just doing it when you remember?
- Could other factors (stress, diet, health issues) be affecting your results?
- Are your expectations realistic? (Hair grows about half an inch per month max)
Remember, hair improvement is a slow process. I didn’t see dramatic changes until about 3 months of consistent oiling, but when the changes came, they were definitely worth the wait.
Making Hair Oiling Part of Your Self-Care Routine
One of the things I love most about hair oiling is that it forces you to slow down and take care of yourself. In our crazy busy lives, having a ritual that’s just for you can be incredibly grounding.
Creating Your Own Hair Oiling Ritual
Transform your oiling routine from a chore into something you actually look forward to.
Elements that make it special:
- Set aside dedicated time when you won’t be interrupted
- Create a calming environment with music, candles, or whatever makes you happy
- Use the massage time for deep breathing or meditation
- Combine it with other self-care activities like face masks or reading
- Make it a phone-free zone so you can actually relax
I like to do my intensive oil treatments on Sunday afternoons while listening to podcasts or audiobooks. It’s become this little pocket of calm in my week that I genuinely look forward to.
Seasonal Adjustments (Because Your Hair Has Seasons Too)
Just like your skin changes with the weather, your hair has different needs throughout the year.
Winter adjustments:
- Increase oiling frequency because indoor heating is brutal on hair
- Use richer oils like coconut or castor to combat dryness
- Pay extra attention to ends, which get more damaged in dry air
- Consider overnight treatments more often
Summer modifications:
- Switch to lighter oils that won’t feel heavy in humidity
- Add UV protection oils when you’ll be in the sun
- Rinse hair after swimming to remove chlorine before oiling
- Adjust frequency based on how often you’re washing due to sweat and activity
Spring and fall transitions:
- Gradually adjust your routine as the weather changes
- Use this time to try new oils or techniques
- Focus on repairing any damage from the previous season
The Long-Term Payoff (Why Consistency Actually Matters)
I’m not going to lie – hair oiling isn’t a quick fix. It’s more like going to the gym or eating well – the benefits build up over time with consistent effort. But when those benefits start showing up, they’re pretty amazing.
What to Expect Over Time
First month: Your hair will feel softer and more manageable. You might notice less breakage when brushing.
Second month: Your scalp health will improve, and you might see some new growth starting to appear.
Third month and beyond: This is when the real magic happens. Your hair will be noticeably stronger, shinier, and healthier overall.
The Unexpected Benefits
Beyond just hair growth and health, regular hair oiling has given me some benefits I didn’t expect:
- Stress relief: The massage aspect is genuinely relaxing and helps me unwind
- Better sleep: When I do overnight treatments, I sleep more soundly
- Mindfulness practice: It forces me to slow down and be present
- Cost savings: I spend way less on expensive hair treatments and products
- Confidence boost: When your hair looks and feels healthy, it shows
Your Hair Oiling Journey Starts Now
Look, I know this might seem like a lot of information, but here’s the truth – you don’t need to be perfect at this from day one. Start with one oil that appeals to you, try the basic technique, and see how your hair responds. You can always adjust and refine your approach as you learn what works for your specific hair.
The most important thing is to be patient with yourself and your hair. We live in a world of instant everything, but hair health is a slow, steady process. Trust the process, be consistent, and give your hair the time it needs to show you results.
Whether you go full traditional with elaborate weekend treatments or keep it simple with quick pre-shampoo applications, you’re giving your hair something it’s been craving – real nourishment and attention. And honestly, in our world of harsh chemicals and constant styling, that’s exactly what our hair needs.
So grab some oil, put on your favorite playlist, and start treating your hair like the crown it is. Your future self (and your hair) will thank you for it.

Hi! I’m Katia Luján, an SEO and Content Marketing expert with over 10 years of experience helping websites grow organically and get approved by Google AdSense.
I’ve worked in Google’s Trust & Safety team for AdSense and have helped more than 100 websites comply with monetization policies. Currently, I’m the strategist behind Buzzlix—creating SEO-optimized, high-quality content on beauty, skincare, and self-care.
I’m passionate about empowering others with actionable, sustainable, and accessible beauty content.
Leave a Reply