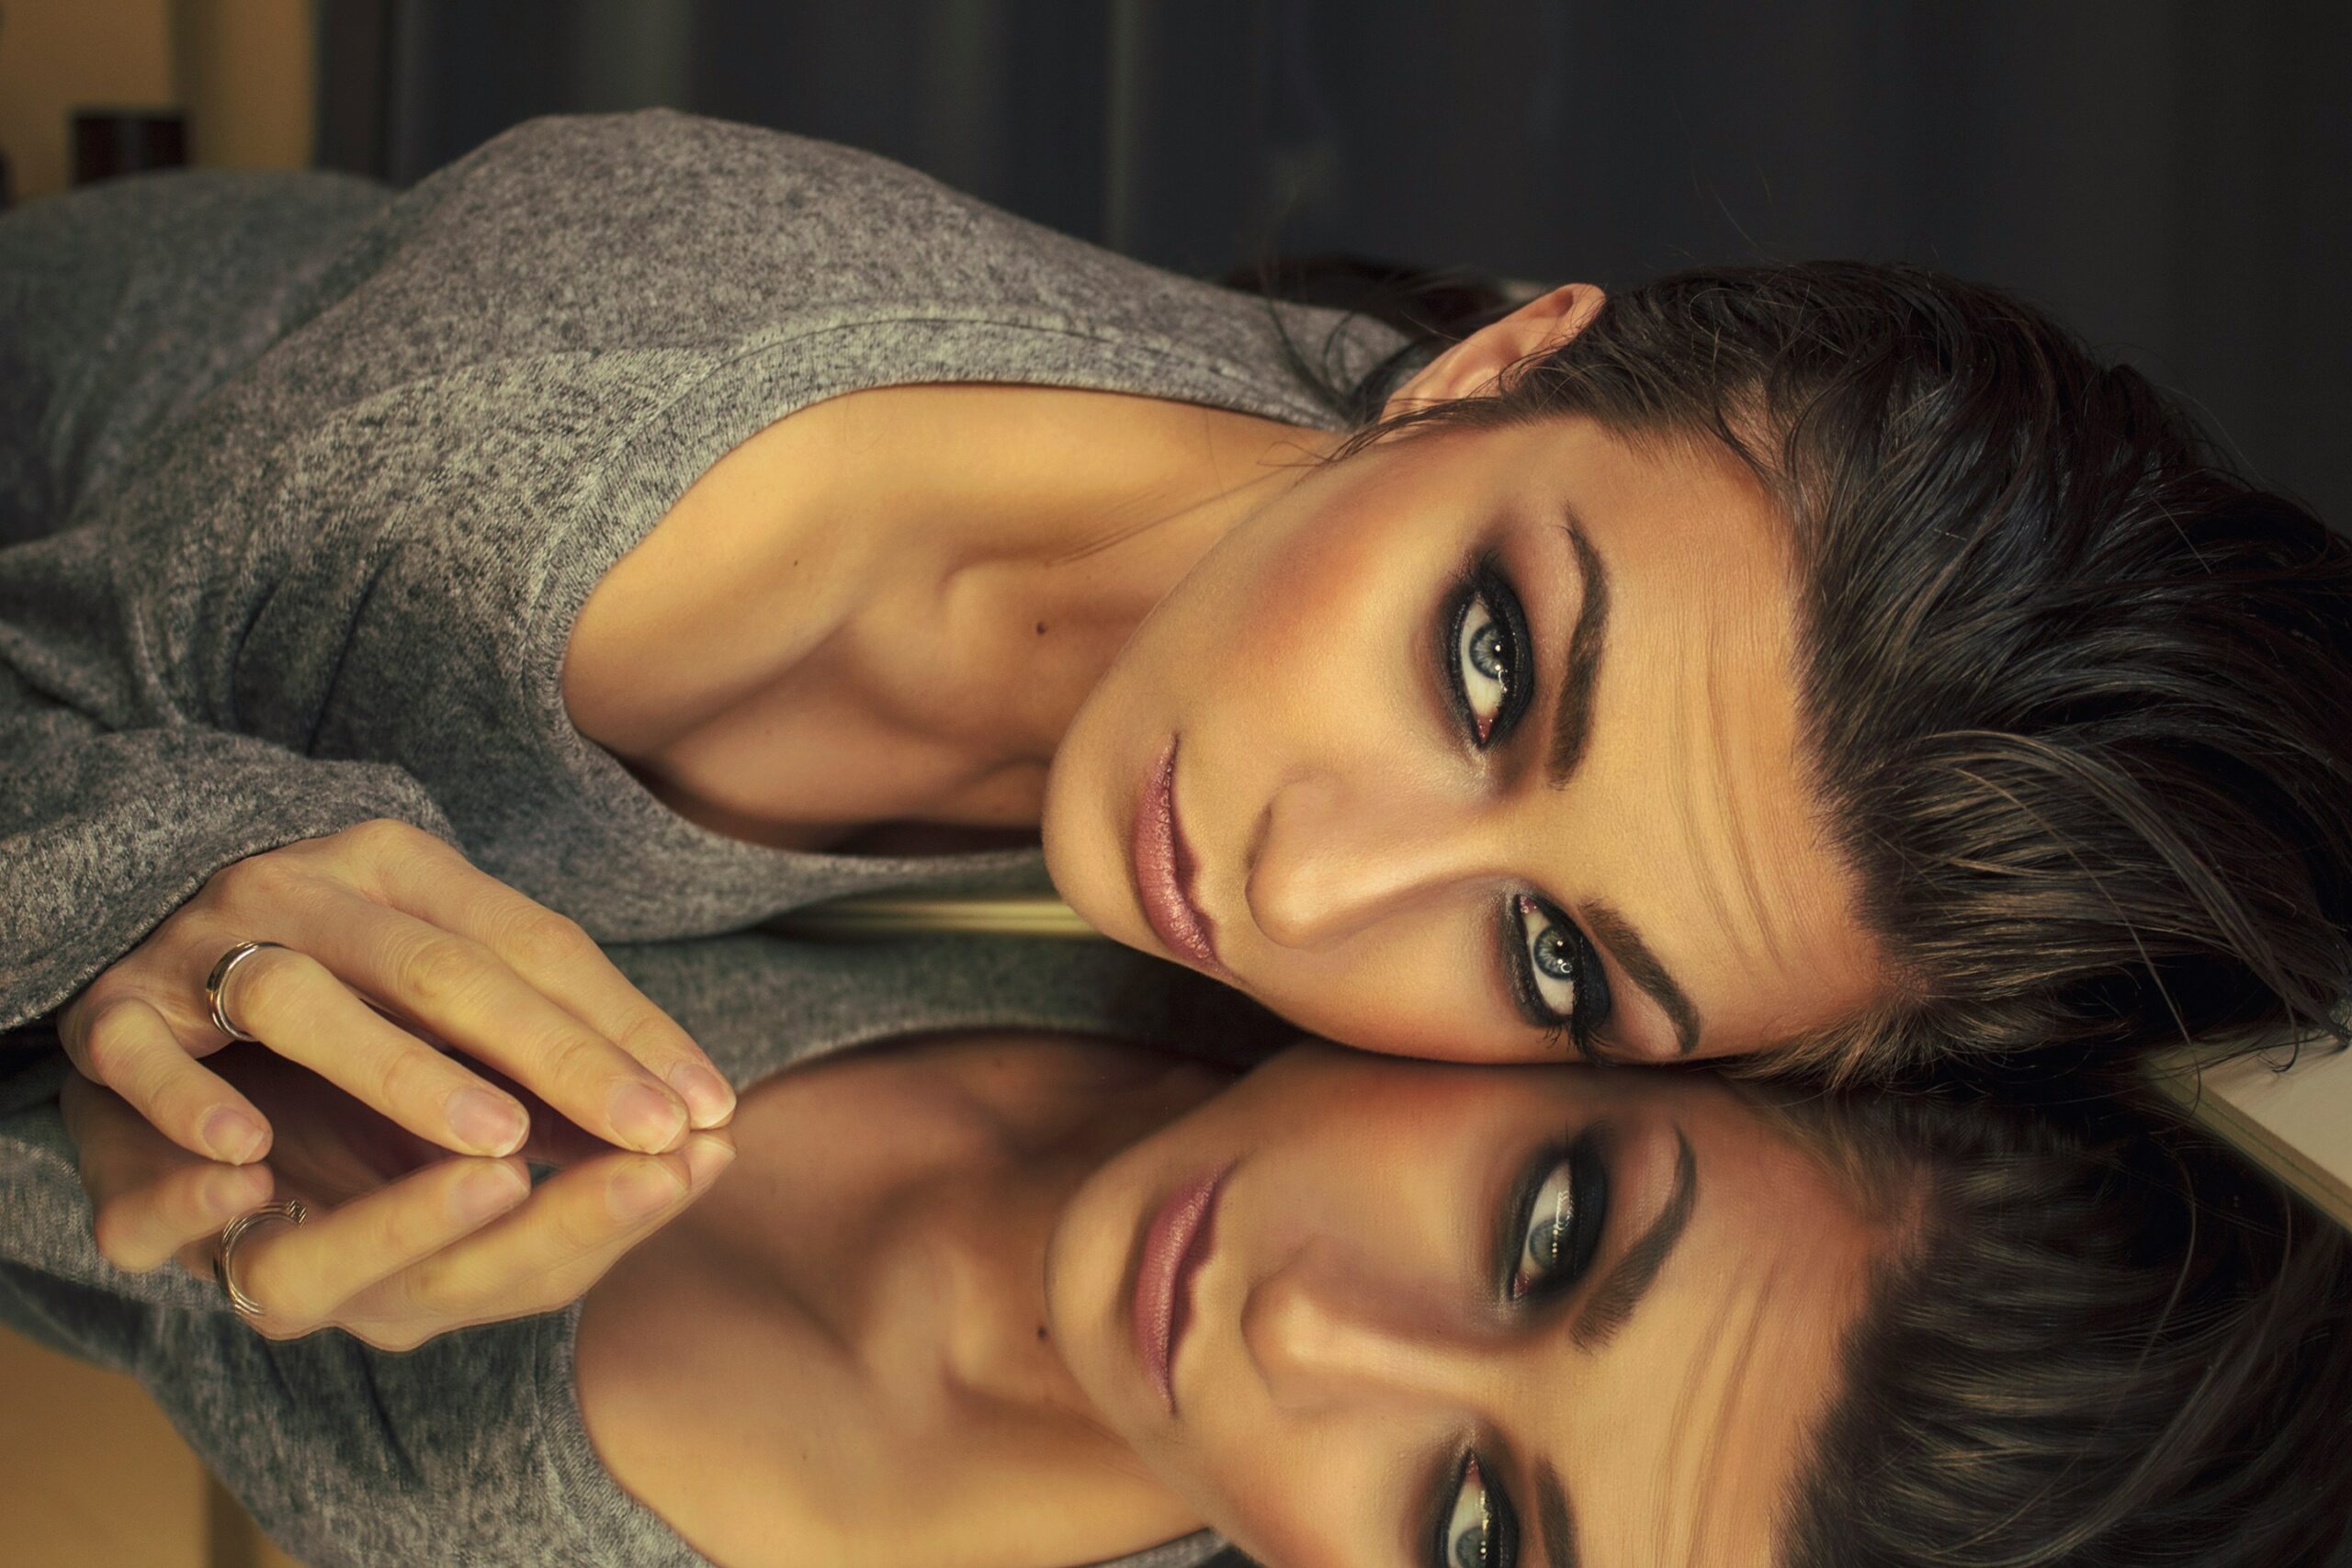
Why the Smokey Eye is a Timeless Choice
The smokey eye look is an iconic, sultry makeup style that instantly adds drama and elegance to any outfit. In fact, it’s hugely popular – one beauty article notes that smokey eyes have generated over 30 million Google hits. No wonder beginners want to learn how to do this classic look!
This tutorial will show you each step (in any order you like, though we recommend following it) so you can master a black-and-grey smokey eye without the stress of winged liner.
Tools & Products You’ll Need
Before we dive into steps, gather a few key items:
- Eye Primer or Concealer: Creates a smooth base for your shadows. If you don’t have primer, a dab of concealer or a nude eyeshadow works similarly to prevent creasing.
- Eyeshadow Palette: Choose a palette with matte black, charcoal or dark grey, and a mid-tone neutral (brown or taupe). Beginner-friendly picks include Milani Soft & Sultry (budget drugstore set), CoverGirl TruNaked Smoky quad (includes a brush), or NYX’s Smokey & Highlight palette.
Cruelty-free brands like Milani are great (see our Cruelty-Free Makeup Brands That Actually Perform: 10 Picks for 2025 for recommendations).
- Eyeliner: A black or dark grey pencil or gel liner. Pencil is easier for beginners. You’ll smudge it later to deepen the look.
- Eye Brushes: At minimum, use a fluffy blending brush (for crease blending), a flat brush or applicator (for packing shadow on the lid), and a small pencil or smudge brush (for details and lower lash line). Beginner-friendly sets include Real Techniques eye sets or EcoTools brushes (both are affordable and high-quality).
- Mascara: A voluminous black mascara to finish. This lifts the lashes and balances all that dark shadow.
- Optional: Q-tips (cotton buds) for cleanup, makeup wipes for quick fixes, and a small mirror.
Having the right tools makes the tutorial much easier, so don’t skimp on a good blending brush. If you want cruelty-free options, see our Cruelty-Free Makeup Brands article. If cost is a concern, check out our upcoming Budget-Friendly Makeup Dupes guide for high-end lookalikes.
Step-by-Step Smokey Eye Tutorial
- Step 1: Prep and Prime Your Lids. Start with a clean eye area. Apply a thin layer of eye primer or a skin-tone concealer across your lids. This “canvas” step prevents shadows from creasing or fading. (Pro tip: For hooded or oily lids, primer is essential to stop smudging.) Let it set a few seconds.
- Step 2: Apply a Transition Shade. Choose a medium matte brown or taupe that’s a bit darker than your skin tone. Using a fluffy blending brush, sweep this color into and just above your crease.
This is called a transition shade – it smooths out the gradient between your skin and the darker smokey colors. Take your time blending in small circles. - Step 3: Build the Outer V. Now pick a darker shadow (dark grey, charcoal, or black). Press a little of this color into the outer corner of your lid, creating a small “V” shape with the point toward the outside of your eye.
Using a clean blending brush, very softly sweep that dark color inward along the outer one-third of your lid. The darkest intensity should stay at the corner and gently fade as you blend toward the center. - Step 4: Smudge Your Eyeliner. Line your upper lash line with your black pencil or gel liner. Don’t worry about a perfect line — we want a soft, smoky edge. Immediately take a small smudge brush or a cotton bud and gently blur the liner upward into the shadow.
This creates that signature haze. (If you want extra drama, you can tightline the upper waterline with the liner as well, but be careful to smudge any sharp edges.) - Step 5: Add Depth Underneath. To pull the look together, use a pencil brush or small angled brush to apply a bit of the same dark shadow along your lower lash line’s outer half.
Think of “mirroring” the top half: start from the outer corner and blend toward the middle. This balances out the smokiness. Smudge it lightly so it’s soft (not a harsh line). - Step 6: (Optional) Highlight Inner Corners & Brow Bone. If you like, pop a tiny amount of a pale shimmery shade in the inner corner of your eye and just under the arch of your brow. This brightens your eyes and keeps the smokey look from looking too flat. Use a small detail brush for precision. It’s not mandatory, but a subtle highlight can make the dark shadows pop.
- Step 7: Mascara (and Lashes). Finish with several coats of mascara on both upper and lower lashes. This lifts the eyes and completes the smokey effect. If you want extra glam, clip on some false lashes — curved, wispy ones look great with smokey eyes.
Congratulations — you’ve done it! Remember: blending is key at every step. If your edges look harsh, just keep blending outwards with a clean brush until they’re soft and seamless.
Tips for Different Eye Shapes
Every eye shape is unique. For example, those with hooded or smaller eyes should avoid spreading the darkest shade all the way across the lid, focusing it at the outer corner instead. Larger or almond-shaped eyes, by contrast, can handle a fuller sweep of dark color. Below are quick tailoring tips:
- Almond Eyes: Being versatile, almond eyes look great with any smokey style. Accent them by focusing dark color on the outer “V” and blend toward the center.
- Hooded Eyes: Keep darker shades slightly above the natural crease to make the lid space more visible. Blend upwards and outwards so the smokiness is visible even when your eyes are open.
- Round Eyes: To elongate round eyes, sweep shadow outward and slightly upward at the outer corner. Concentrate liner and dark shadow on the outer half of the upper lash line. This creates a subtle “winged” effect that makes the eyes look more almond-shaped.
- Monolid (single-fold) Eyes: Apply your transition shade across the entire lid, and then focus the darkest color at the very outer edge. Blend it up and out so you get a gradient. This gives the illusion of depth on lids that don’t have a visible crease.
Every face is different, so experiment! The image above (infographic) visualizes these tips. In general, always prime first and go slowly – it’s easier to add more shadow than to remove it.
Common Smokey-Eye Mistakes to Avoid
Beginners often trip up on a few things. Here are some pitfalls and how to dodge them:
- Over-Blending: Yes, blending is crucial, but too much can muddy the colors. You want a smooth gradient, not a uniform grey blob. Blend just enough to fade harsh lines.
- Skipping Primer/Transition Shade: Not using a primer (or even a neutral base) leads to creasing and fading. Also, omitting a mid-tone transition color will make your dark shadow look patchy. As one makeup pro notes, skipping the transition step often causes harsh edges.
- Using the Wrong Brushes: A proper fluffy blending brush is your best friend. Avoid using rigid brushes for blending; they pack color but don’t diffuse it. Use at least three: one for packing color on the lid, one for crease blending, and a pencil or smudge brush for details.
- Going Too Dark Too Soon: Beginners might dab on piles of black shadow at once. Instead, build the intensity gradually. Start with a tiny amount of product, blend it out, then deepen it in layers. This prevents ending up with one super-dark patch.
- Neglecting Cleanup: Dark eyeshadow often falls out under the eyes during application. To avoid panda eyes, tap off excess shadow from your brush before applying. You can also do your eye makeup before foundation, so it’s easy to wipe away any fallout without ruining the rest of your look.
By sidestepping these mistakes, you’ll smooth your learning curve. Take your time with blending and layering – the effort shows in the finished smokey eye!
Conclusion
A classic black-and-grey smokey eye might seem intimidating at first, but with practice it becomes second nature. Remember to prime well, build color gradually, and always blend, blend, blend.
Tailor the steps to your eye shape, use the right brushes, and follow our beginner-friendly steps for a flawless finish. It’s okay to experiment and have a little fun with the process – after all, it’s makeup!
If you loved this tutorial, check out our other posts like Cruelty-Free Makeup Brands That Actually Perform: 10 Picks for 2025 and stay tuned for “Top 10 Budget-Friendly Makeup Dupes That Beat High-End Products” to find savvy savings on great cosmetics. Happy blending!
Frequently Asked Questions
Q: Do I always need eyeliner for a smokey eye?
A: Not strictly, but it helps define the lash line. If you skip traditional liner, you can apply a dark eyeshadow or a kohl pencil along the upper lashes and smudge it to mimic liner. This still gives a soft smoky effect. Some people even do a smokey look with just shadow, but a bit of liner usually makes it richer and the eyes pop.
Q: How can I prevent messy fallout from dark shadows?
A: Fallout is common with intense pigment. To minimize it, gently tap your brush after loading up dark shadow (this shakes off loose powder). You can also hold a tissue under your eye while applying. Another trick is to do your eye makeup before face makeup – that way, you can wipe away any flakes easily without ruining your foundation.
Q: How do I adapt the smokey eye for hooded eyes?
A: For hooded eyelids, place the main dark color a bit above your crease (toward the brow) so it stays visible when your eye is open. Focus the darkest shade outward and blend it upward. This lifts the look. Also, keep any eyeliner very tight to the lash line so it doesn’t disappear in the fold.
Q: Can I create a smokey eye with just one eyeshadow color?
A: Yes! You can do a simple monochrome smokey eye. Pick a mid-tone grey or brown. Sweep it all over your lid, then use a clean brush to blend it upward. Then take a smaller brush with a bit of black (or the same shade applied twice) at the outer corner and blend that inward. It won’t have as much contrast as multi-shade looks, but it’s very easy for beginners and still looks beautiful.
Q: What brushes should a beginner use for a smokey eye?
A: At minimum, get a soft blending brush (fluffy, dome-shaped) for diffusing shadows, a flat shader brush for packing color on the lid, and a pencil or smudge brush (small and tapered) for detailed work on the lash lines. Sets like Real Techniques or EcoTools have all these. Using the right brushes makes blending much easier, resulting in a smoother smokey effect.

Hi! I’m Katia Luján, an SEO and Content Marketing expert with over 10 years of experience helping websites grow organically and get approved by Google AdSense.
I’ve worked in Google’s Trust & Safety team for AdSense and have helped more than 100 websites comply with monetization policies. Currently, I’m the strategist behind Buzzlix—creating SEO-optimized, high-quality content on beauty, skincare, and self-care.
I’m passionate about empowering others with actionable, sustainable, and accessible beauty content.


Leave a Reply